 |
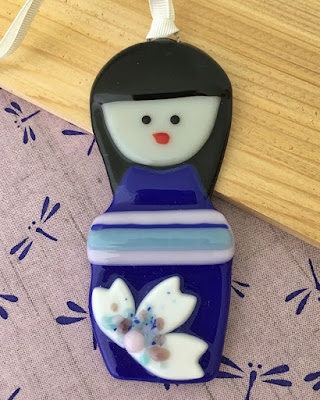
| My finished Santa and Kokeshi. |
After creating the pattern for the Santa, I realized I needed to make tiny glass dots for Santa noses, belt buckles and pom-poms. To create these components, I cut glass squares in the appropriate colors and then heated them in my kiln to 1500 degF. Glass squares melt into perfect balls, just like magic.
 |
| Glass squares, cut and ready to become dots. |
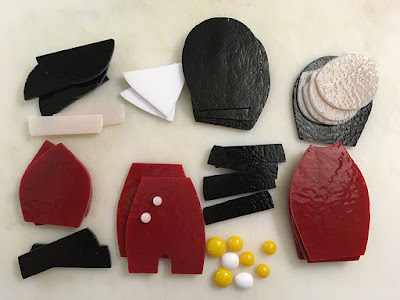
When designing this Santa, I wanted him to match the style of my Kokeshi but also remind me of the characters from the It's a Small World ride at Disney. I love their round, happy faces! After transferring my patterns, I hand cut and shaped Bullseye sheet glass into the parts I needed. Everything gets a good washing and then it's time for assembly.
 |
| Glass parts ready for Kokeshi and Santa. |
Every ornament gets layered by hand. Each piece of glass gets secured with a tiny drop of Elmer's glue. The glue burns off before the glass starts to melt, but it helps keep everything together so I can carry things to the kiln.
Each Kokeshi and Santa gets a pair of tiny glass eyes and crushed glass in medium and fine granulations to create fur trim on their cute little holiday outfits.
 |
| Adding fur trim to fused glass Christmas ornaments. |
I have decided that it's never too early to start getting ready for the holidays.
Sharon Warren Glass | sharonwarrenglass | sharonwarrenglass.com | FluttterByButterfly | Sharon Warren Glass Artist


